


In this post, we'll be exploring how to use the busboy module to parse form data in Node.js. We'll be using the busboy module to parse form data from a file upload form. We'll also be using the file system module to save the file to the file system.
Getting Started
In an empty folder run the following command to create a package.json file
npm init -y
Then run the following command to initialize a git repository
git init
Create a .gitignore file and add the following line to it. This will tell git to ignore the node_modules folder when we push it to our repository.
node_modules
Finally, run the following command to install the busboy module which we'll be using to parse the form data
npm install busboy
Inside the folder you created, create a file called index.js and one called index.html and open them in your favorite text editor...
Writing the HTML
Here's what your index.html file will look like. On the form the action attribute is set to the url of the server we'll be creating. The method is set to POST and the enctype is set to multipart/form-data. This is what tells the browser to send the form data as a multipart request that can be parsed by busboy.
<!DOCTYPE html>
<html lang="en">
  <head>
    <meta charset="UTF-8" />
    <meta http-equiv="X-UA-Compatible" content="IE=edge" />
    <meta name="viewport" content="width=device-width, initial-scale=1.0" />
    <title>Node Busboy</title>
  </head>

  <body>
    <form
      action="http://127.0.0.1:3000"
      method="post"
      enctype="multipart/form-data"
    >
      <label for="name">
        Name
        <input type="text" name="name" />
      </label>

      <label for="email">
        Email
        <input type="text" name="email" />
      </label>

      <label for="file">
        File
        <input type="file" name="file" />
      </label>

      <button type="submit">Submit</button>
    </form>
  </body>
</html>
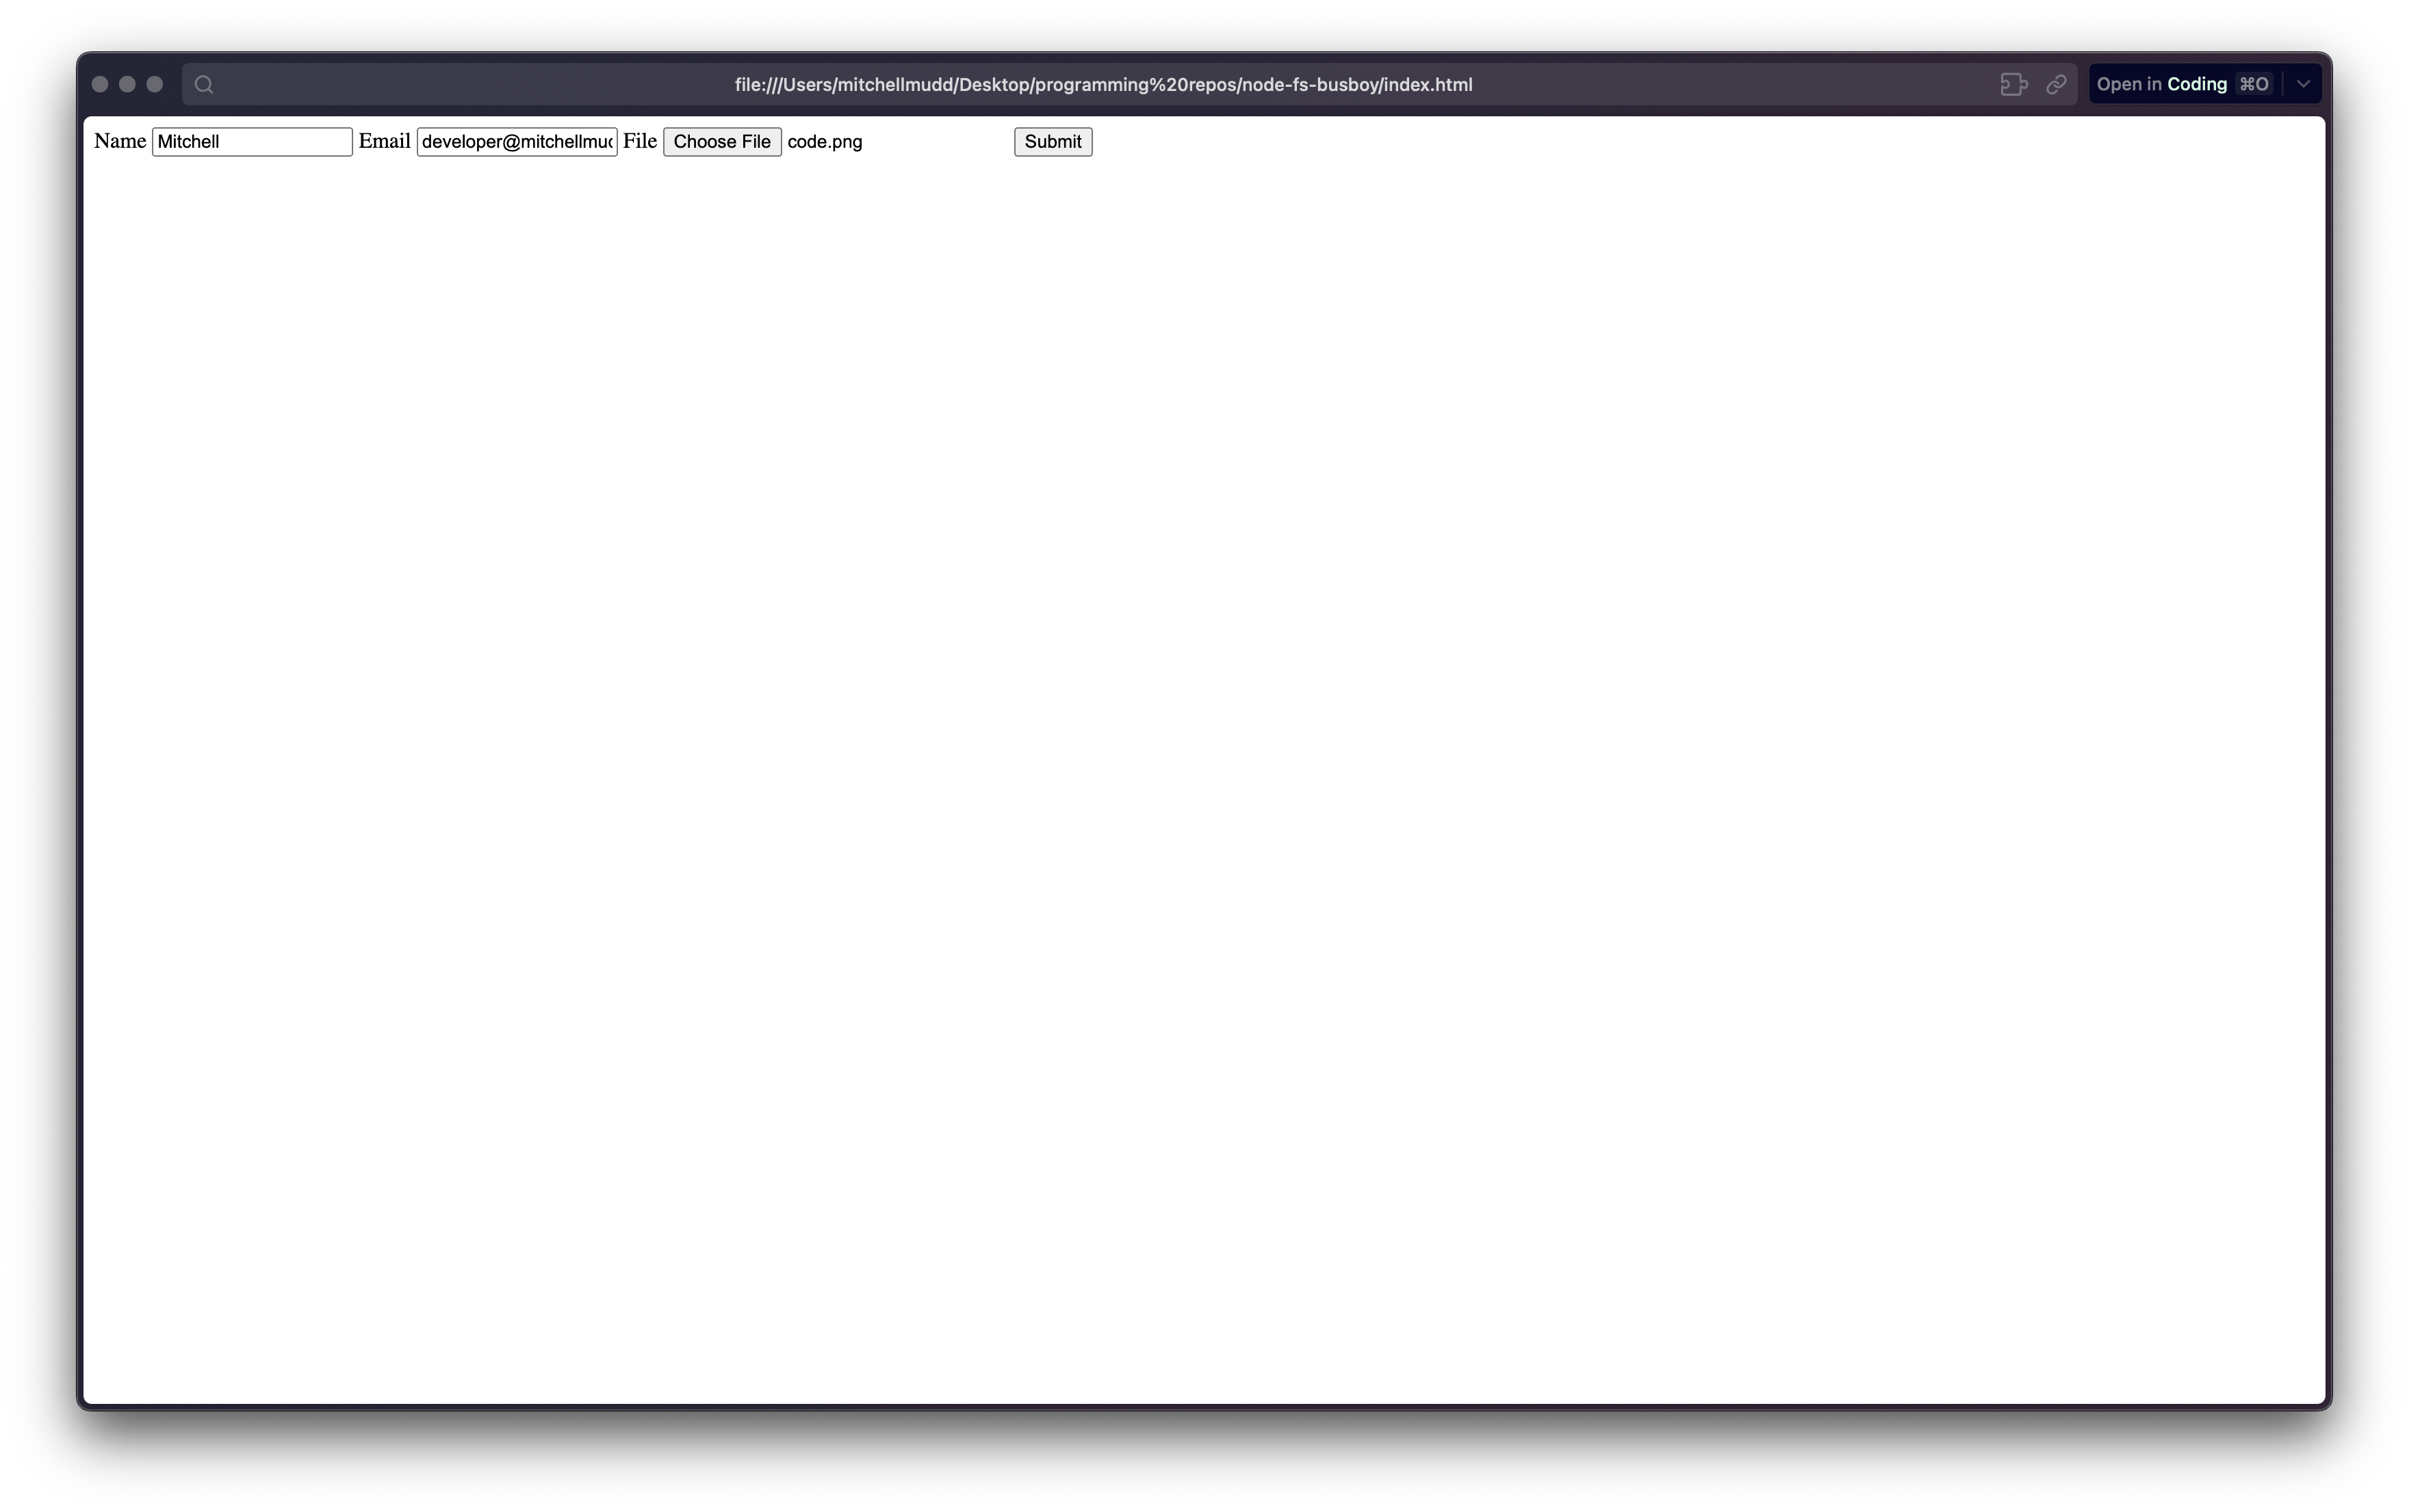
Here's what the form will look like in the browser
Writing the Code
Here's what your package.json will look like after installing busboy
{
  "name": "busboy-node",
  "version": "1.0.0",
  "description": "",
  "main": "index.js",
  "scripts": {
    "test": "echo \"Error: no test specified\" && exit 1"
  },
  "author": "",
  "license": "ISC",
  "dependencies": {
    "busboy": "^1.6.0"
  }
}
Now we'll import the busboy module along with some other packages for our server and handling the file system
// index.js

const http = require("http");
const fs = require("fs");
const os = require("os");
const path = require("path");
const busboy = require("busboy");
Then we'll set the host and port for our server
// index.js

const hostName = "127.0.0.1";
const port = 3000;
Now that we have all of our dependencies and variables set up, we can create our server. Here's a play-by-play of what's happening in this code block:
We create a server with the
http.createServermethodWe set the
Content-Typeheader totext/plain. This is what we'll be sending back to the clientWe check if the request method is
POST. If it is, we'll parse the form data with busboyIf the form data is a file, we'll get the filename, encoding and mimeType from the info object
We set the path to save the file. For me, that was my home directory +
/Downloadsbut you can change it to whatever you want/need.We save the file to the path we set in step 5
If the form data is a field, we'll log the name and value of the field
Finally, we pipe the request to busboy to parse the form data
// index.js

const server = http.createServer((req, res) => {
  res.setHeader('Content-Type', 'text/plain');

  if (req.method === 'POST') {
    const bb = busboy({ headers: req.headers });
    bb.on('file', (name, file, info) => {
      // destructuring the info object to get the filename, encoding and mimeType
      const { filename, encoding, mimeType } = info;
      console.log(
        `File [${name}]: filename: ${filename}, encoding: ${encoding}, mimeType: ${mimeType}}`);

      // set the path to save the file
      const saveTo = path.join(`${os.homedir()}/Downloads`, `${filename}`);

      console.log(`File [${name}] is saving to ${saveTo}`)

      // save the file
      file.pipe(fs.createWriteStream(saveTo));

      file.on('data', (data) => {
        console.log(`File [${name}] got ${data.length} bytes`);
      }).on('close', () => {
        console.log(`File [${name}] done`);
      });
    });
    bb.on('field', (name, val, info) => {
      console.log(`Field [${name}]: value: `, val);
    });
    bb.on('close', () => {
      console.log('Done parsing form!');
      res.end('Done parsing form!');
    });

    // pipe the request to busboy to parse the form data
    req.pipe(bb);
  }
Now we'll listen on the port we set earlier
// index.js

server.listen(port, hostName, () => {
  console.log(`Server running at http://${hostName}:${port}/`);
});
Testing it Out
Now that we have our server set up, we can test it out. Run the following command to start the server
node index.js
Then find the index.html file in your file system and open it in your browser. Fill out the form and click submit, which will present you will the following view in your browser.

In your terminal, you should see the following output along with a bunch of other logs from busboy. You'll also see the file you uploaded in your Downloads folder.
Server running at http://127.0.0.1:3000/
File [avatar]: filename: test.png, encoding: 7bit, mimeType: image/png
Field [name]: value: Mitchell
Field [email]: value: mitchell@email.com
Done parsing form!
You can alternatively open the index.html file by running the following command
open index.html
Alternative HTML Form
Instead of creating an HTML file you could also handle a GET request on the server and send back an HTML form. Here's what the code would look like. You would put this after the if statement that checks if the request method is POST
// index.js

else if (req.method === 'GET') {
    res.statusCode = 200;
    res.setHeader('Content-Type', 'text/html');
    // send a form with a two text inputs and one file input
    res.end(`
      <form action="/" method="post" enctype="multipart/form-data">
        <input type="text" name="name" placeholder="name">
        <input type="text" name="email" placeholder="email">
        <input type="file" name="avatar">
        <button type="submit">Submit</button>
      </form>`);
  }
Conclusion
In this tutorial, we learned how to use busboy to parse form data in Node. We also learned how to save files to the file system.
If you have any questions or comments, feel free to reach out to me on Twitter @mitchelldirt or by email at developer@mitchellmudd.dev
Thanks so much for reading! 🎉
Resources
The repository for this tutorial is here
This Net Ninja Series on how streams and buffers work in Node is fantastic. The whole series is great if you are interested in learning more about Node.
Here's a reference to unix terminal commands that you can use to navigate your file system and more. Unix Commands
The Busboy Documentation is great. It's actually where I got most of the javascript code for this tutorial.
Node's API documentation is great to keep on hand. Just make sure you pick the right version to view haha. Node API Documentation
Learn more about forms on MDN using the MDN Forms series.